[3] TensorFlow@Docker + CPU
13 marca 2022Zainstaluj TensorFlow, czyli bibliotekę uczenia maszynowego w kontenerze.
W tym przykładzie zainstaluj oficjalny obraz platformy Docker TensorFlow bez obsługi GPU i uruchom go w kontenerach.
[1] Zainstaluj Podmana, patrz tutaj.
[2] Zainstaluj Docker TensorFlow (CPU).
[root@vlsr05 ~]# dnf install libcudnn8 libcudnn8-devel
[root@vlsr05 ~]# dnf install libnvinfer8 libnvinfer-plugin8 libnvinfer-plugin-devel libnvinfer-devel

# pokaż dostępne obrazy
[user01@vlsr05 ~]$ curl -s https://registry.hub.docker.com/v1/repositories/tensorflow/tensorflow/tags| sed "s/,/\n/g" | grep name
 "name": "latest"}
 "name": "0.10.0"}
 "name": "0.10.0-devel"}
 "name": "0.10.0-devel-gpu"}
 "name": "0.10.0-gpu"}
 "name": "0.10.0rc0"}
 "name": "0.10.0rc0-devel"}
. . . . .

# pobierz obraz TensorFlow 2.0 z Python’em
[user01@vlsr05 ~]$ podman pull tensorflow/tensorflow:2.0.0-py3
[user01@vlsr05 ~]$ podman images
REPOSITORY                       TAG         IMAGE ID      CREATED        SIZE
docker.io/tensorflow/tensorflow  2.4.1-gpu   edb49f6a133b  13 months ago  5.55 GB
docker.io/tensorflow/tensorflow  2.0.0-py3   90f5cb97b18f  2 years ago    1.09 GB

# uruchom kontener
[user01@vlsr05 ~]$ podman run --rm tensorflow/tensorflow:2.0.0-py3 python3 -c "import tensorflow as tf; print(tf.reduce_sum(tf.random.normal([1000, 1000])))"
2022-03-12 18:37:51.062036: I tensorflow/core/platform/cpu_feature_guard.cc:142] Your CPU supports instructions that this TensorFlow binary was not compiled to use: AVX2 FMA
2022-03-12 18:37:51.077323: I tensorflow/core/platform/profile_utils/cpu_utils.cc:94] CPU Frequency: 3696000000 Hz
2022-03-12 18:37:51.077545: I tensorflow/compiler/xla/service/service.cc:168] XLA service 0x3a8ba30 executing computations on platform Host. Devices:
2022-03-12 18:37:51.077559: I tensorflow/compiler/xla/service/service.cc:175]   StreamExecutor device (0): Host, Default Version
tf.Tensor(26.946846, shape=(), dtype=float32)

# stwórz skrypt/program Hello World i uruchom go w kontenerze
[user01@vlsr05 ~]$ mcedit hello_tensorflow.py
# stwórz nowy
import tensorflow as tf
hello = tf.constant('Hello, TensorFlow World!')
tf.print(hello)

[user01@vlsr05 ~]$ podman run --rm -v $PWD:/tmp -w /tmp tensorflow/tensorflow:2.0.0-py3 python3 ./hello_tensorflow.py
python3: can't open file './hello_tensorflow.py': [Errno 13] Permission denied
# SELinux zabronił wykonania skryptu
# brak praw dostępu
[3] Jeśli jest uruchomiony SELinux, zmień politykę.
[root@vlsr05 ~]# mcedit my-python-user.te
# stwórz nowy
module my-python-user 1.0;
require {
        type user_home_t;
        type container_t;
        type user_home_dir_t;
        class file { create ioctl open read unlink write };
        class dir { add_name remove_name write };
}
#============= container_t ==============
allow container_t user_home_dir_t:dir { add_name remove_name write };
allow container_t user_home_dir_t:file { create ioctl open read unlink write };
allow container_t user_home_t:file { ioctl open read };

[root@vlsr05 ~]# checkmodule -m -M -o my-python-user.mod my-python-user.te
[root@vlsr05 ~]# semodule_package --outfile my-python-user.pp --module my-python-user.mod
[root@vlsr05 ~]# semodule -i my-python-user.pp

[user01@vlsr05 ~]$ podman run --rm -v $PWD:/tmp -w /tmp tensorflow/tensorflow:2.0.0-py3 python3 ./hello_tensorflow.py
2022-03-13 06:32:44.304469: I tensorflow/core/platform/cpu_feature_guard.cc:142] Your CPU supports instructions that this TensorFlow binary was not compiled to use: AVX2 FMA
2022-03-13 06:32:44.319438: I tensorflow/core/platform/profile_utils/cpu_utils.cc:94] CPU Frequency: 3696000000 Hz
2022-03-13 06:32:44.319811: I tensorflow/compiler/xla/service/service.cc:168] XLA service 0x4d5ad80 executing computations on platform Host. Devices:
2022-03-13 06:32:44.319838: I tensorflow/compiler/xla/service/service.cc:175]   StreamExecutor device (0): Host, Default Version
Hello, TensorFlow World!
[4] Zainstalujemy teraz obraz kontenera TensorFlow wraz z Jupyter.
# pobierz obraz TensorFlow 2.0 z Pythonem3/Jupyterem
[user01@vlsr05 ~]$ podman pull tensorflow/tensorflow:2.0.0-py3-jupyter
[user01@vlsr05 ~]$ podman images
REPOSITORY                       TAG                IMAGE ID      CREATED        SIZE
docker.io/tensorflow/tensorflow  2.4.1-gpu          edb49f6a133b  13 months ago  5.55 GB
docker.io/tensorflow/tensorflow  2.0.0-py3-jupyter  c652a4fc8a4f  2 years ago    1.24 GB
docker.io/tensorflow/tensorflow  2.0.0-py3          90f5cb97b18f  2 years ago    1.09 GB

# uruchom kontener jako demon
[user01@vlsr05 ~]$ podman run -dt -p 8888:8888 tensorflow/tensorflow:2.0.0-py3-jupyter
64e5846fbe0edfac8a6fcf994a9d2510f3101137ef4656334d755bc9f69876d4
[user01@vlsr05 ~]$ podman ps
CONTAINER ID  IMAGE                                              COMMAND               CREATED         STATUS             PORTS                   NAMES
64e5846fbe0e  docker.io/tensorflow/tensorflow:2.0.0-py3-jupyter  bash -c source /e...  18 seconds ago  Up 18 seconds ago  0.0.0.0:8888->8888/tcp  agitated_rubin

# potwierdź adres URL
# pobierz/wygeneruj token do zalogowania się na stronę
# nas interesuje [token=xxxxxxxxxxxxxxxxxxxxxxxxxxxxxxxxxxxxxxxxxxxxxxxxxxxxxxx]
[user01@vlsr05 ~]$ podman exec 64e5846fbe0e bash -c "jupyter notebook list"
Currently running servers:
http://0.0.0.0:8888/?token=e7ca5012e81908b19704040bbbdcc34a06c812abf6b13209 :: /tf
[5] Jeśli Firewalld pracuje, otwórz port 8888.
[root@vlsr05 ~]# firewall-cmd --add-port=8888/tcp --permanent
[root@vlsr05 ~]# firewall-cmd --reload
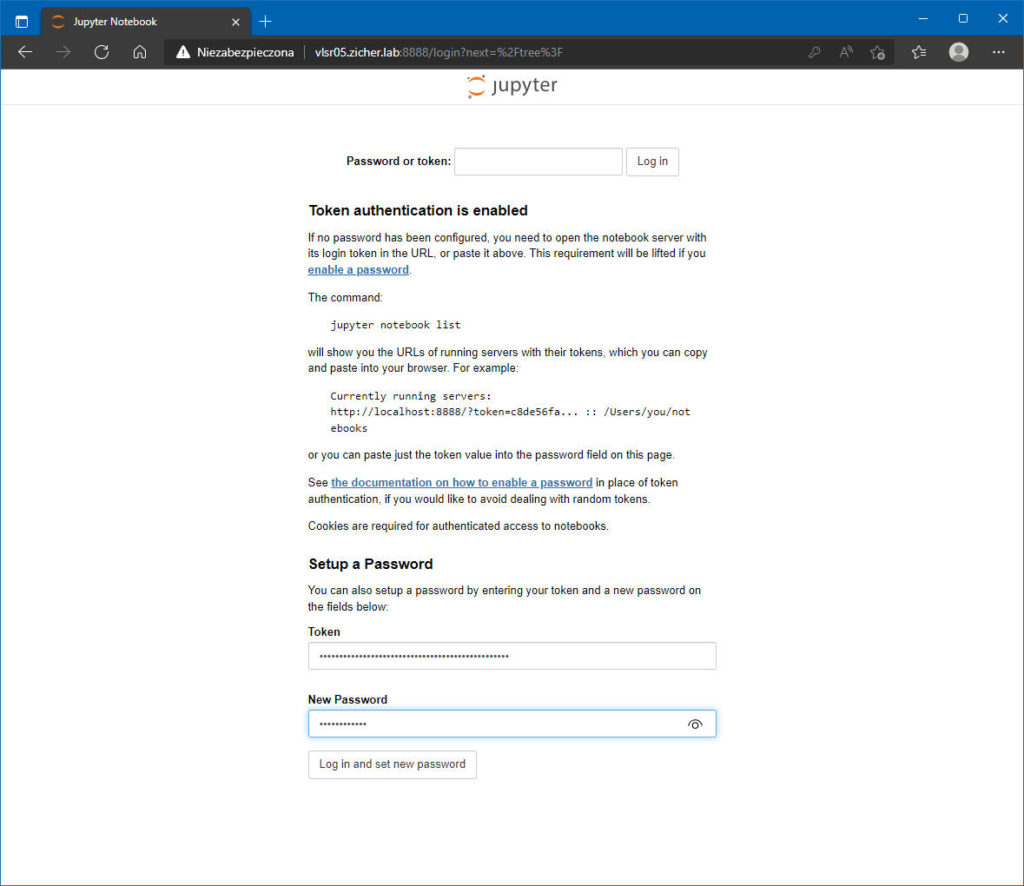
[6] Uzyskaj dostęp do poniższego adresu URL, wtedy możliwe jest korzystanie z Notatnika Jupyter.
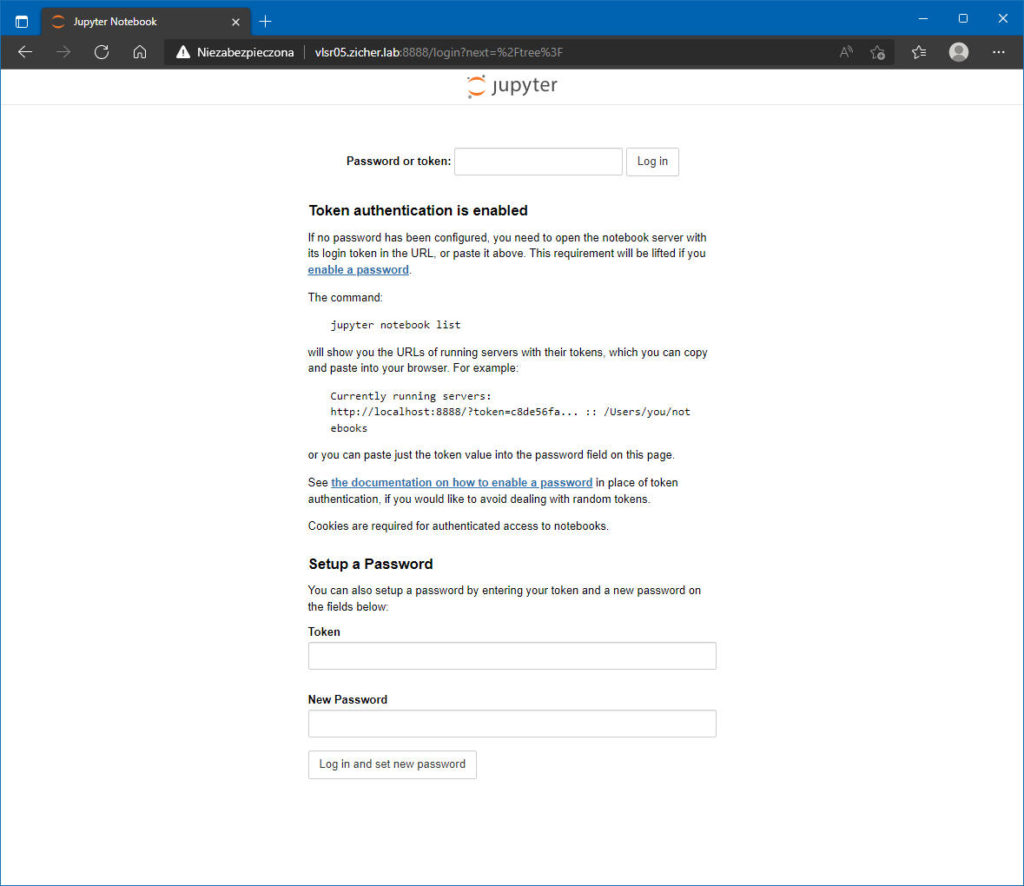
[7] W pole [Password or token:] wpisz token wygenerowany w [4] i naciśnij [Log in].
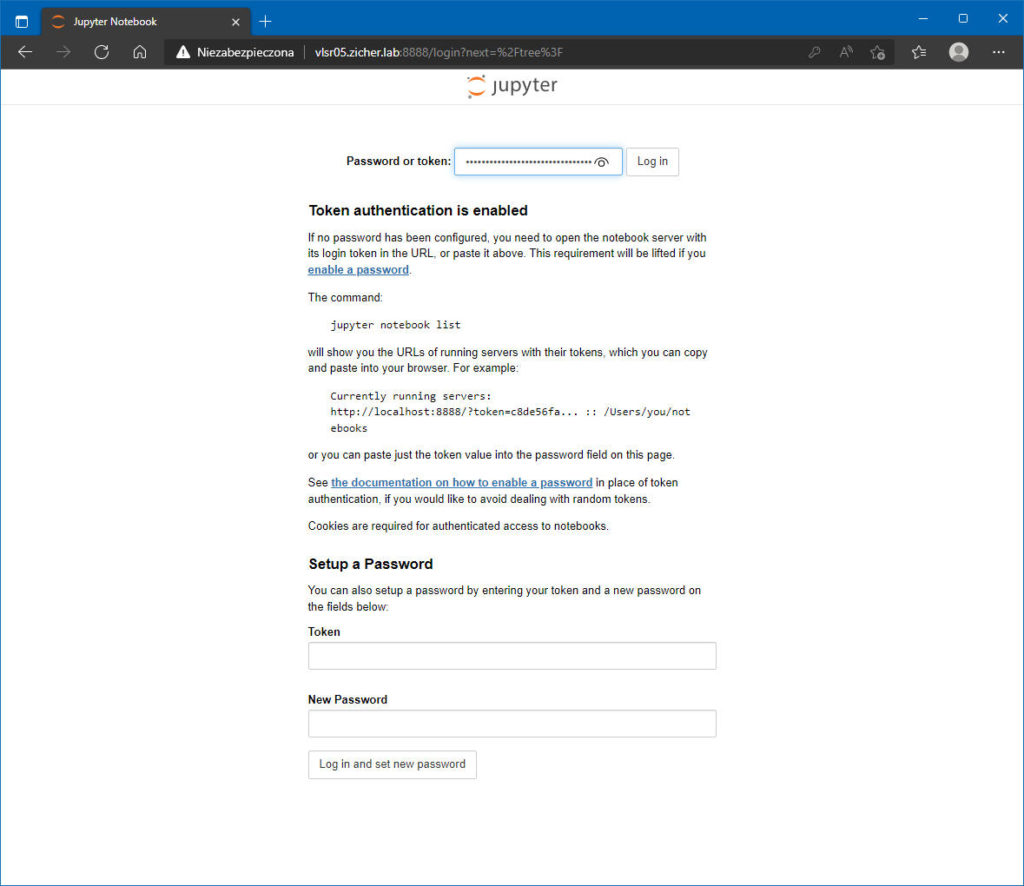
[8] Możesz też w sekcji Setup a Password wpisać token do pola [Token], a następnie w polu [New Password] wpisać hasło, za pomocą którego będziesz się logował do Notatnika Jupyter’a. Ja właśnie proponuję tą metodę. Następnie kliknij [Log in and set new password].
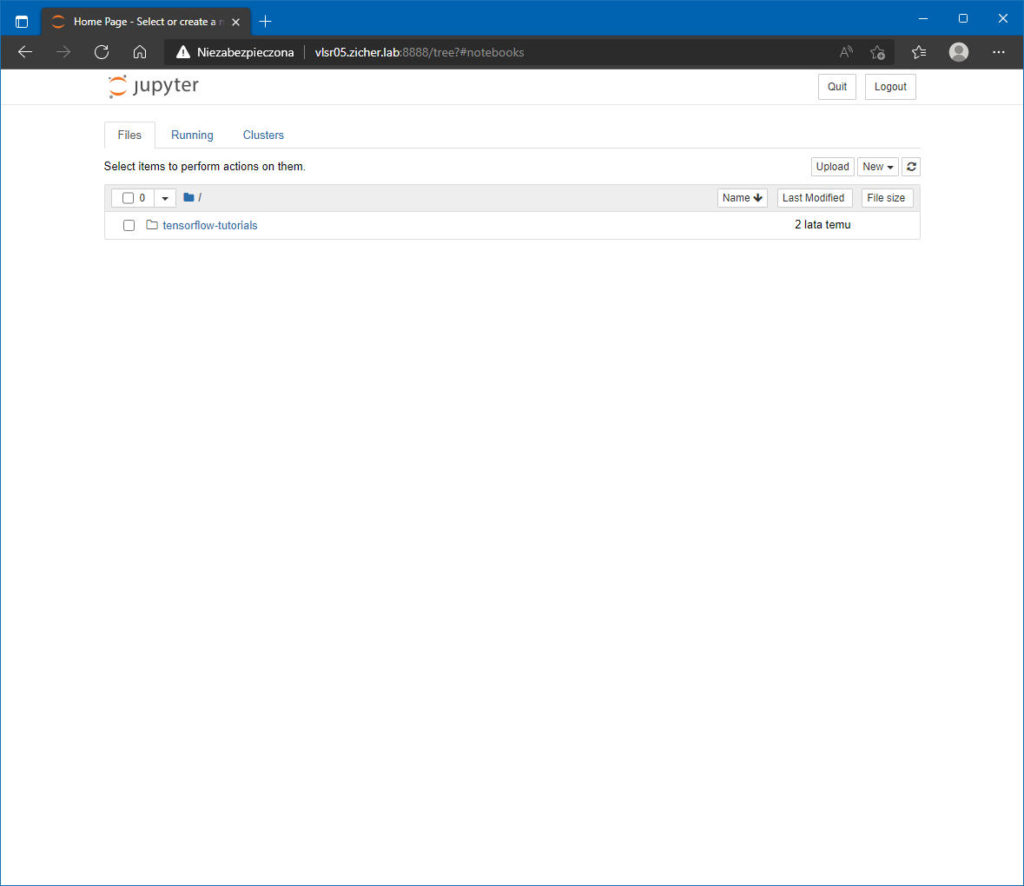
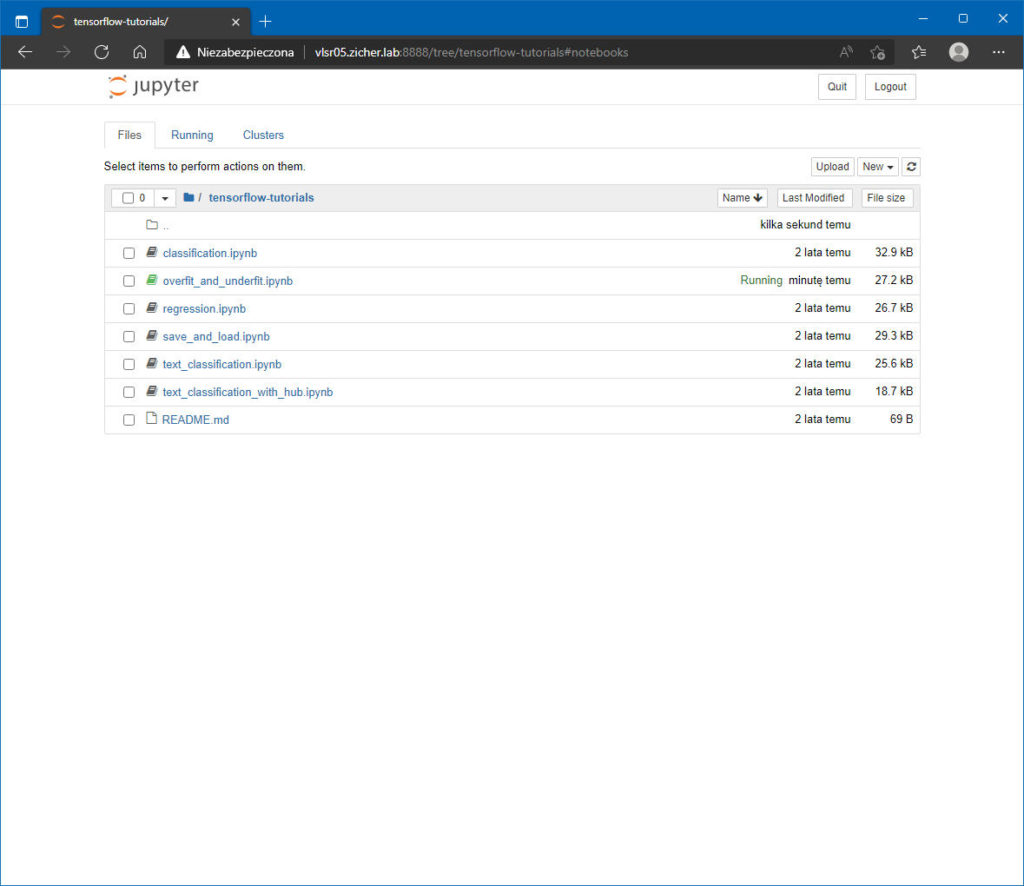
[9] Uzyskaliśmy dostęp do Notatnika Jupytera.
