[17] Redmine – zarządzanie projektem
19 marca 2022Zainstaluj Redmine, który jest narzędziem do zarządzania projektami.
W tym przykładzie SELinux jest skonfigurowany jako Permissive lub Disabled.
[1] Zainstaluj i uruchom serwer httpd Apache, patrz tutaj.
[2] Zainstaluj i uruchom serwer SMTP, patrz tutaj.
[3] Zainstaluj serwer PostgreSQL, patrz tutaj.
[4] Zainstaluj Ruby 2.7, patrz tutaj.
[5] Zainstaluj inne wymagane pakiety.
# zainstaluj z EPEL, PowerTools
[root@vlsr01 ~]# dnf --enablerepo=epel,powertools install ruby-devel postgresql-server-devel openssl-devel libxslt-devel libxml2-devel libpq-devel libcurl-devel zlib-devel httpd-devel gcc gcc-c++ gcc-gdb-plugin make patch rpm-build ImageMagick ImageMagick-devel
[6] Utwórz użytkownika i bazę danych dla Redmine na PostgreSQL.
[root@vlsr01 ~]# mcedit /var/lib/pgsql/data/pg_hba.conf
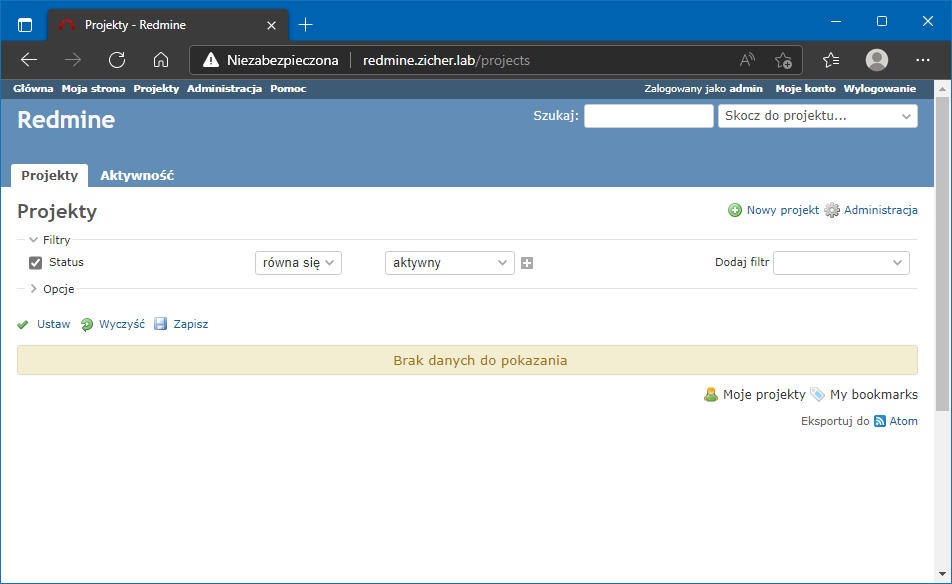
# linia 86: zmień jak poniżej
#host    all             all             127.0.0.1/32            ident
host    all             all             127.0.0.1/32            md5
host    all             all             ::1/128                 md5
#host    all             all             ::1/128            ident

[root@vlsr01 ~]# systemctl restart postgresql

# ustaw hasło dla/w sekcji [password]
[root@vlsr01 ~]# su - postgres
[postgres@vlsr01 ~]$ createuser redmine
[postgres@vlsr01 ~]$ createdb redmine -O redmine
[postgres@vlsr01 ~]$ psql -c "alter user redmine with password 'TajneHasło'"
ALTER ROLE
[7] Pobierz i zainstaluj Redmine. Upewnij się, że najnowsza wersja znajduje się na poniższej stronie: http://www.redmine.org/projects/redmine/wiki/Download.
[root@vlsr01 ~]# curl -O https://www.redmine.org/releases/redmine-4.2.4.tar.gz
[root@vlsr01 ~]# tar zxvf redmine-4.2.4.tar.gz
[root@vlsr01 ~]# mv redmine-4.2.4 /var/www/redmine
[root@vlsr01 ~]# cd /var/www/redmine
[root@vlsr01 redmine]# mcedit config/database.yml

# stwórz nowy
production:
  adapter: postgresql
# nazwa BD
  database: redmine
  host: localhost
# użytkownik BD
  username: redmine
# hasło użytkownika BD
  password: password
  encoding: utf8

[root@vlsr01 redmine]# mcedit config/configuration.yml
# stwórz nowy (ustawienia SMTP)
# zmień na Twoje ustawienia lokalizacyjne fontów dla sekcji [rmagick_font_path]
production:
  email_delivery:
    delivery_method: :smtp
    smtp_settings:
      address: "localhost"
      port: 25
      domain: 'mail.zicher.lab'
  rmagick_font_path: /usr/share/fonts/google-droid/DroidSans.ttf

# install bundler
[root@vlsr01 redmine]# gem install bundler

# install Gems for Redmine
[root@vlsr01 redmine]# bundle install --without development test mysql sqlite

# wygeneruj klucze
[root@vlsr01 redmine]# bundle exec rake generate_secret_token

# wygeneruj tabele
[root@vlsr01 redmine]# bundle exec rake db:migrate RAILS_ENV=production

# install Passenger
[root@vlsr01 redmine]# gem install passenger

# zainstaluj moduły do Apache2
[root@vlsr01 ~]# passenger-install-apache2-module
Welcome to the Phusion Passenger Apache 2 module installer, v6.0.12.
This installer will guide you through the entire installation process. It
shouldn't take more than 3 minutes in total.
Here's what you can expect from the installation process:
1.The Apache 2 module will be installed for you.
2.You'll learn how to configure Apache.
3.You'll learn how to deploy a Ruby on Rails application.
Don't worry if anything goes wrong. This installer will advise you on how to
solve any problems.
Press Enter to continue, or Ctrl-C to abort.
1
--------------------------------------------
Which languages are you interested in?
Use <space> to select.
If the menu doesn't display correctly, press '!'
 ‣ ⬢  Ruby # wybierz i naciśnij [Enter]
   ⬡  Python
   ⬡  Node.js
   ⬡  Meteor
. . . . .
Deploying a web application
To learn how to deploy a web app on Passenger, please follow the deployment
guide:
  https://www.phusionpassenger.com/library/deploy/apache/deploy/
Enjoy Phusion Passenger, a product of Phusion® (www.phusion.nl) :-)
https://www.phusionpassenger.com
Passenger® is a registered trademark of Phusion Holding B.V.
[8] Skonfiguruj httpd do uruchomienia Passenger (Pasażera). W tym przykładzie ustaw VirtualHost dla Redmine.
[root@vlsr01 ~]# mcedit /etc/httpd/conf.d/passenger.conf
# stwórz nowy
LoadModule passenger_module /usr/local/share/gems/gems/passenger-6.0.12/buildout/apache2/mod_passenger.so
PassengerRoot /usr/local/share/gems/gems/passenger-6.0.12
PassengerDefaultRuby /usr/bin/ruby
SetEnv LD_LIBRARY_PATH /usr/lib64
NameVirtualHost *:80
<VirtualHost *:80>
    ServerName redmine.zicher.lab
    DocumentRoot /var/www/redmine/public
</VirtualHost>
<Directory "/var/www/redmine/public">
    Options FollowSymLinks
    AllowOverride All
</Directory>
[root@vlsr01 redmine]# chown -R apache. /var/www/redmine
[root@vlsr01 redmine]# systemctl restart httpd
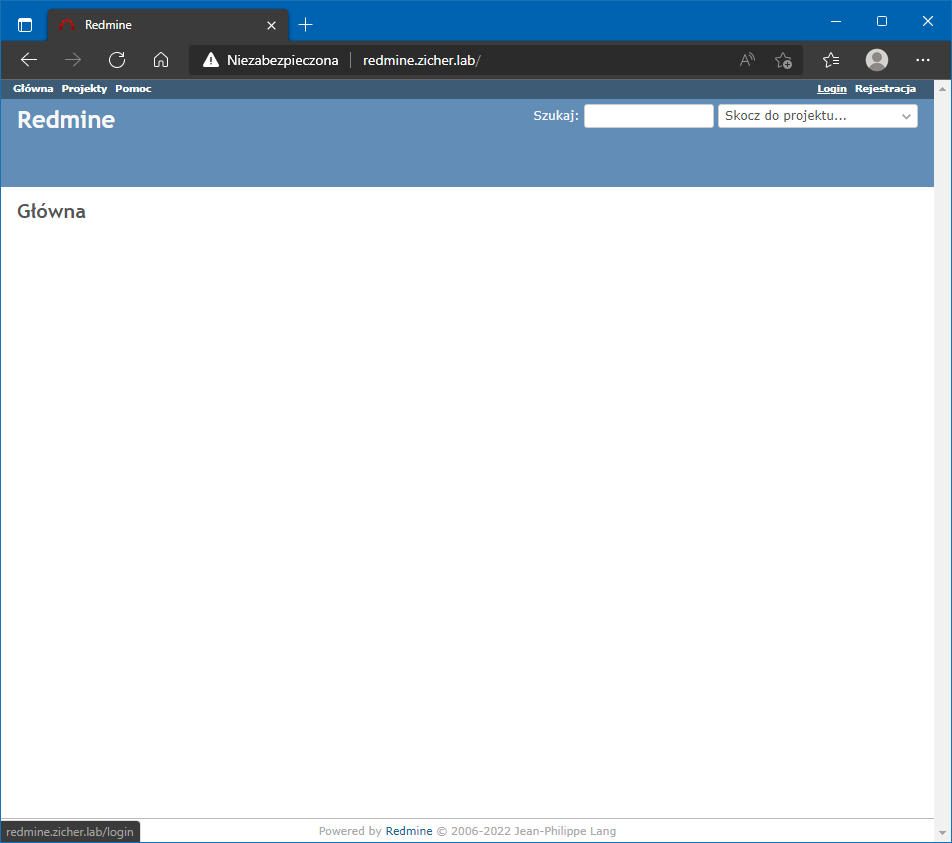
[9] Uzyskaj dostęp do adresu URL skonfigurowanego na httpd, a następnie przejdź na stronę główną Redmine jak jest pokazane. Kliknij łącze [Login].
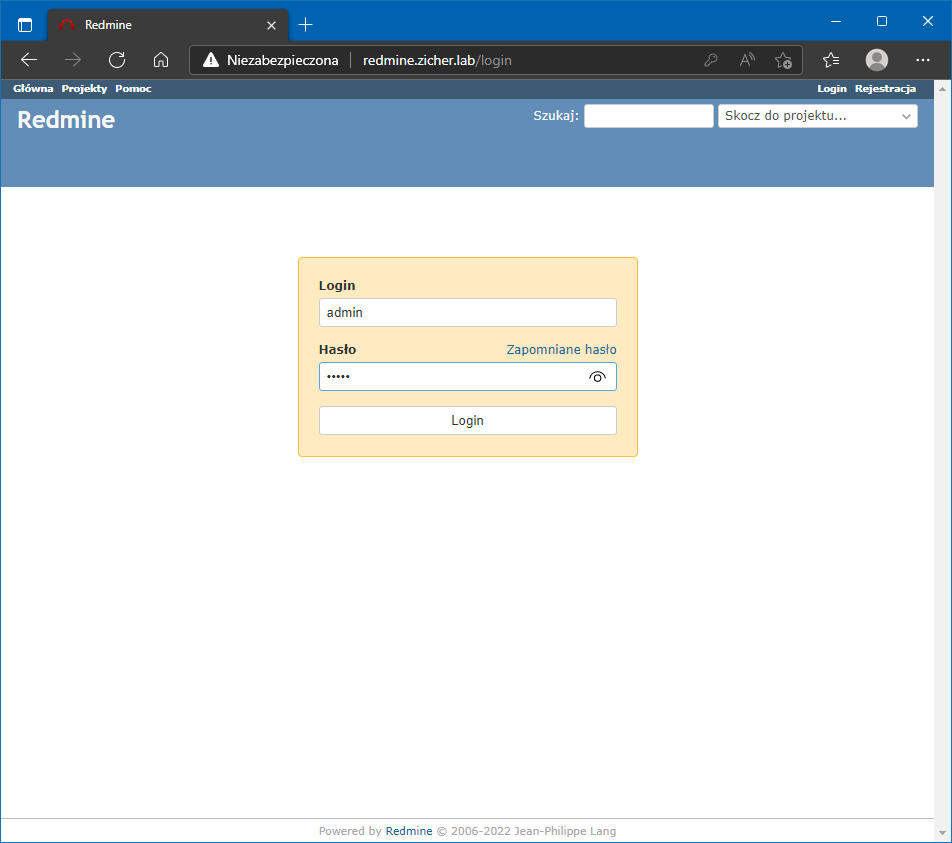
[10] Zaloguj się z początkowymi danymi Username(Login)/Hasło(Password) [admin/admin].
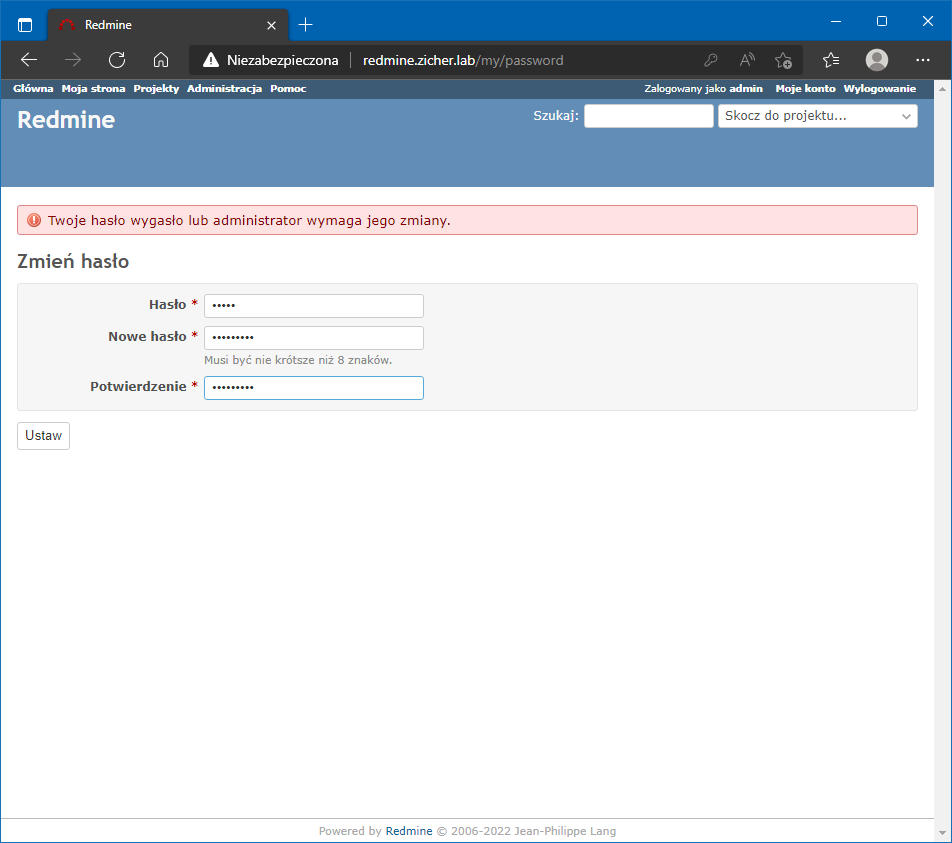
[11] Po pierwszym logowaniu wymagana jest zmiana hasła – zmień je.
[12] Po zmianie hasła, wymagana jest konfiguracja konta – wykonaj ją. Następnie kliknij [Zapisz].
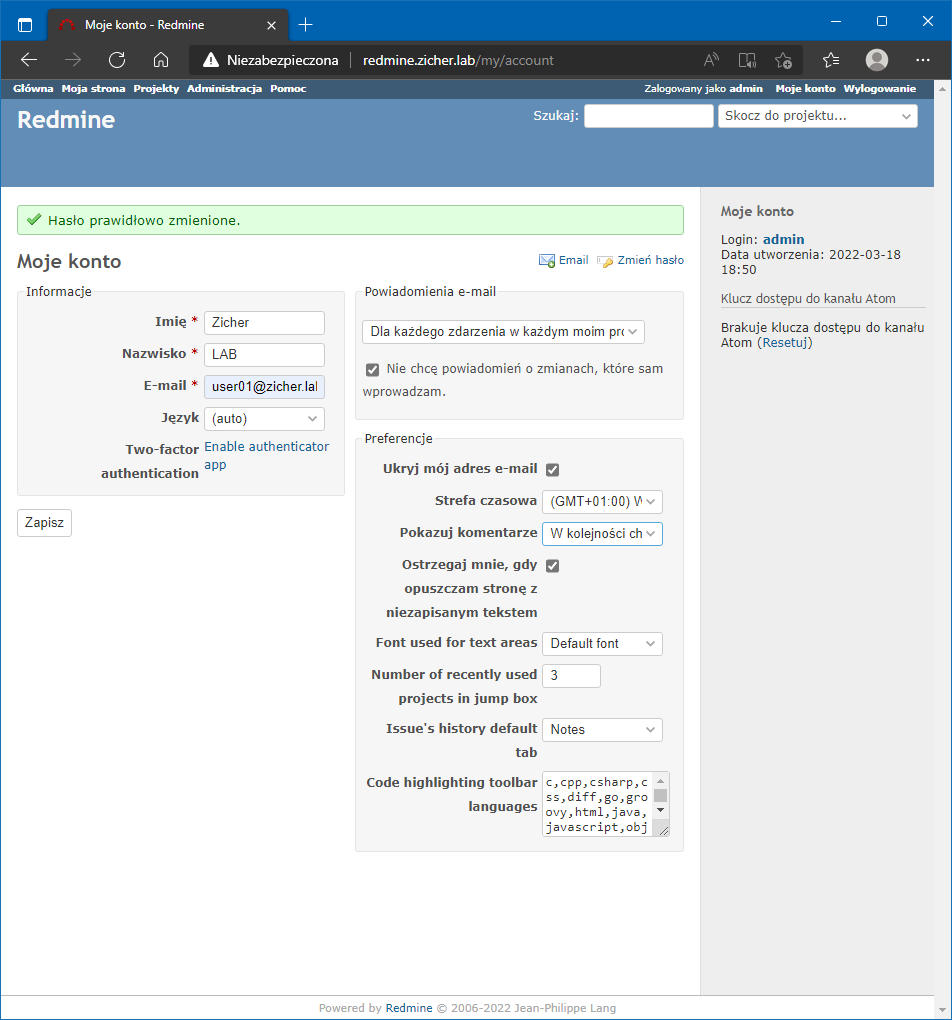
[13] Wszystko OK, możesz zacząć tworzyć projekty z użyciem Redmine.
